Simple steps that make your garage door opener install fast and smooth
A little prep goes a long way. Use this homeowner-friendly checklist to clear the workspace, capture key details, and make smart choices during your garage door operator replacement visit.
TL;DR
- Clear ten feet of floor space inside the garage and three feet around the door tracks.
- Note your opener model, outlet location, door height, and any symptoms you have noticed.
- Run two safety tests in advance: photo-eye beam test and 2×4 reversal test.
- Decide your priorities: quiet, backup power, or headroom, then review options with the tech.
The quick checklist to get ready
Clear the work area and protect your things
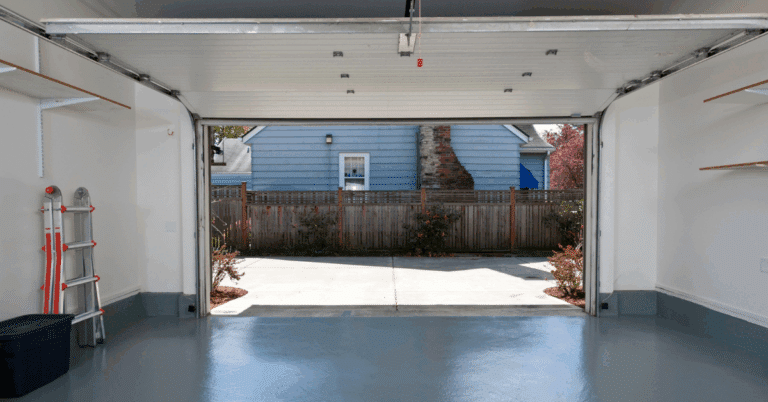
Move cars out of the garage and clear about ten feet of floor space in front of the door. Remove storage that blocks the tracks, photo-eyes, or the opener head on the ceiling. If you store items on high racks, make sure a ladder can reach the opener safely. This simple step saves time and helps the install go smoothly.
Gather the basics the technician will ask for
Look for your current opener’s model label on the head or wall unit. Note where the electrical outlet is and whether it is easy to reach. Count remotes and list who uses the keypad. Check door height if you know it. These details help the tech bring the right rail length, accessories, and programming steps to finish in one visit.
Run two safety tests ahead of time
First, block the photo-eye beam near the floor and confirm the door will not close. Second, place a 2×4 on its flat side under the door and close it. The door must reverse on contact. These protections are part of the residential baseline and should work on any compliant system, according to DASMA and UL Standards. If either test fails after cleaning and aligning the sensors, make a note and plan to address it during the visit.
[Safety Tip]
DASMA guidance states that you should never bypass or tape over photo-eyes. If the beam test fails, fix the cause and keep the protection.
Decide what you want from the new system
Choose your priority: quiet, space, or backup power
If bedrooms sit over the garage, quiet operation matters. A belt-drive reduces vibration you can feel in living space. If you want ceiling headroom for storage or lighting, a wall-mount frees the center of the garage. If outages are common, battery backup keeps the door moving when the power is out. List your top two needs so your tech can match models quickly.
Plan accessories that fit your routine
Most families want two remotes, a keypad, and app control. Consider a remote LED light if the garage is dim or an extra wall station near a side door. Share who needs access so the tech can program everything before leaving. This avoids a second visit and gets everyone set up the same day.
Note any door behavior that seems “off”
Write down new grinding, clanking, or jerky motion. Explain when it happens. Many “opener problems” start with door hardware, so these clues help the tech check rollers, tracks, and balance first. Fixing the door protects the new unit and prevents repeat issues after the install.
What happens during the visit
Door-first safety check
A good visit starts with the door. The tech will check balance, rollers, track alignment, and sensor placement. If the door is binding or out of balance, that gets corrected before the new unit is installed. This keeps the system within its safety baseline and avoids force faults later.
Install, setup, and testing
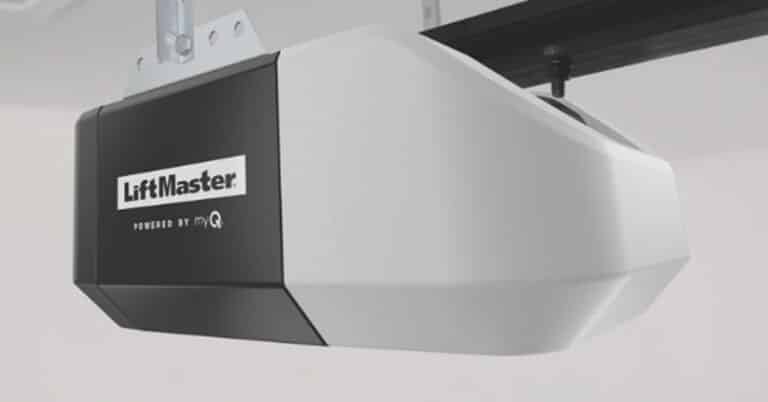
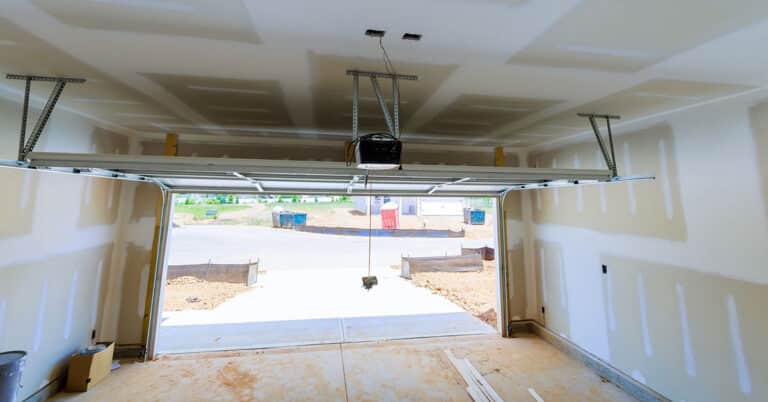
The tech will mount the new head or wall unit, connect the rail or torsion coupling, wire the photo-eyes, and set travel and force. Then they will run the photo-eye and 2×4 reversal tests to confirm safe operation. Expect a walkthrough of features and app setup. For wall-mount models with backup power, you will also learn how to test and replace the battery when needed.
Final programming and a clear handoff
All remotes and the keypad are programmed, and homelink in your vehicle can be set if compatible. You will receive a quick care list: monthly beam and reversal tests, how to clean sensor lenses, and how to spot early warning signs. Ask for the model number, warranty terms, and where to find the garage door opener owner’s manual.
[Pro Note]
If your visit includes a wall-mount, the system couples to the torsion shaft. Springs and cables store energy and are not DIY tasks. Your tech will handle adjustments and verify settings before handoff.
Frequently asked questions
What should I do if the door fails a safety test before the appointment?
Stop using the system and tell the scheduler. The tech will check door balance, sensor placement, and settings first. Failing tests often trace back to the door or alignment. Fixing those items restores the safety baseline and helps the new unit run smoothly.
How long does a typical replacement take?
Most like-for-like swaps fit into a single visit once the workspace is clear and power is available. Extra time may be needed for door repairs, outlet work, or layout changes for a wall-mount. A tidy garage and a list of priorities help keep the appointment efficient.
Do I need to be home the whole time?
It helps. The tech will confirm your priorities, show the safety tests, and program remotes, keypad, and app with you. If you cannot stay, make sure someone can approve accessory choices and receive the quick care checklist at the end.
What if I also need garage door repair on the door itself?
That is common. Many opener issues start with rollers, tracks, or balance. Your tech will address door repairs first, then finish the opener setup. This sequence protects the equipment and prevents repeat service calls.
What smart homeowners do next
Clear the workspace, run the two safety tests, and make a short list of what matters most to you. During the visit, we will check the door, match the right model to your routine, and set everything up so your garage is safe and simple to use.
Sources
- DASMA — DASMA TDS 353 | Gate Operators and the ANSI/UL 325 Standard — https://www.dasma.com/wp-content/uploads/pubs/TechDataSheets/OperatorElectronics/TDS353.pdf — date accessed 2025-09-17
- DASMA — DASMA TDS 351: Federal and State Residential Garage Door Operator Legislation Guidelines For Dealers and Installers — https://www.dasma.com/wp-content/uploads/pubs/TechDataSheets/OperatorElectronics/TDS351.pdf — date accessed 2025-09-17
- Devanco Canada — LiftMaster Wi-Fi Garage Door Opener Owner’s Manual (Models 81550/81650/81600/81602/83650-267) — https://www.devancocanada.com/files/manuals/81650_Installation-manual.pdf — date accessed 2025-09-17


